How to Root Your Android Device Safely and Securely
Rooting is the way to make your Android phone faster and better, with less bloatware and more features. Learn how to root easily with our step-by-step guide here.
Is My Device Compatible?
Not all Android devices can be rooted. There are several reasons you might not be able to root your device. First, you should check your device’s specifications against the list of supported devices for the rooting method you plan to use. If your device doesn’t match the specifications, it will not work with that rooting method.
Second, you should verify that your device is unlocked and rooted by checking its “About” page in Settings. If it says “Device is unlocked” or “Bootloader is unlocked,” then you’re good to go. If not, you’ll need to unlock it first or find another method of rooting your phone or tablet that doesn’t require an unlocked bootloader (often easier said than done).
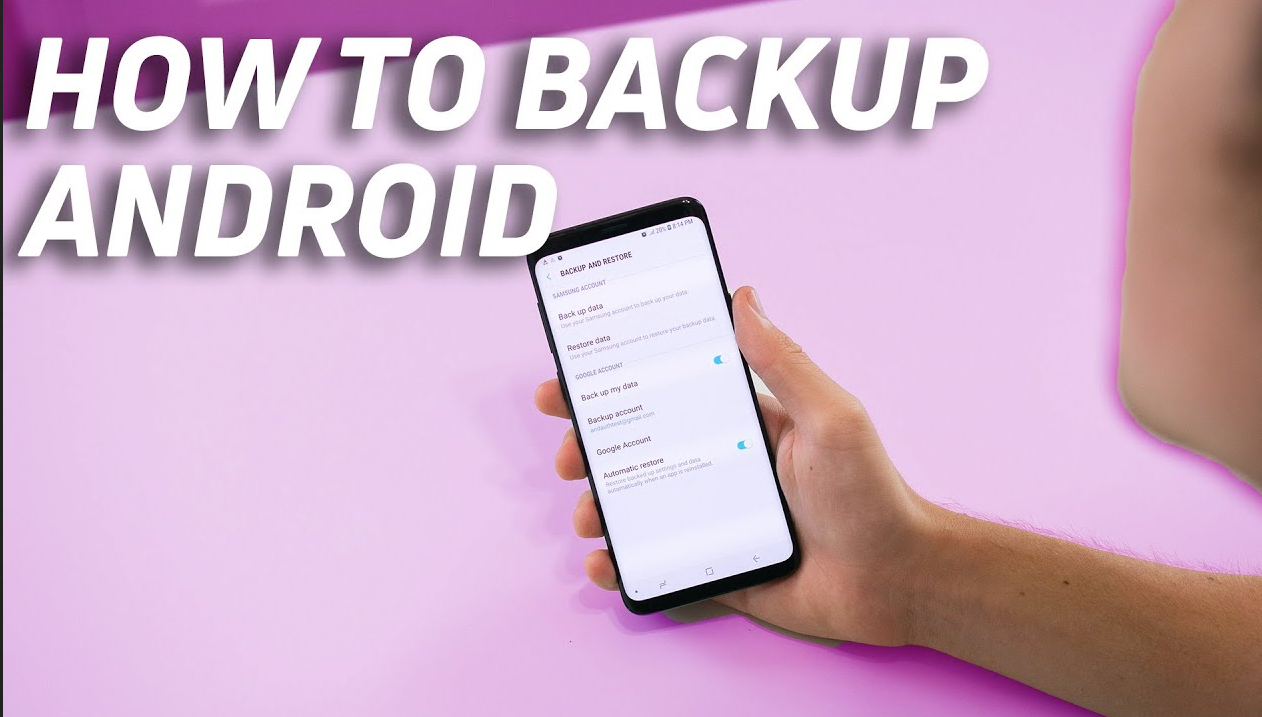
Backup Your Android Phone
It’s always a good idea to backup your Android phone before you root it. Many options are available, depending on which backup method you prefer. If you have an SD card slot on your device, insert the card into your computer and copy all of the files off it. Then, run a full factory reset of your phone to wipe out all data. You can then re-insert the SD card and use it to store files again.
If you don’t have an SD card slot or don’t want to use one, you can use Google’s free Backup and Restore app (formerly known as Android Backup Service). The app will automatically back up any apps installed through Google Play (including paid apps), system settings, and data from your Gmail account every time you connect your Android device to Wi-Fi for at least 10 minutes. You can manually back up everything stored on your device by tapping “Backup” from within the app’s settings menu.
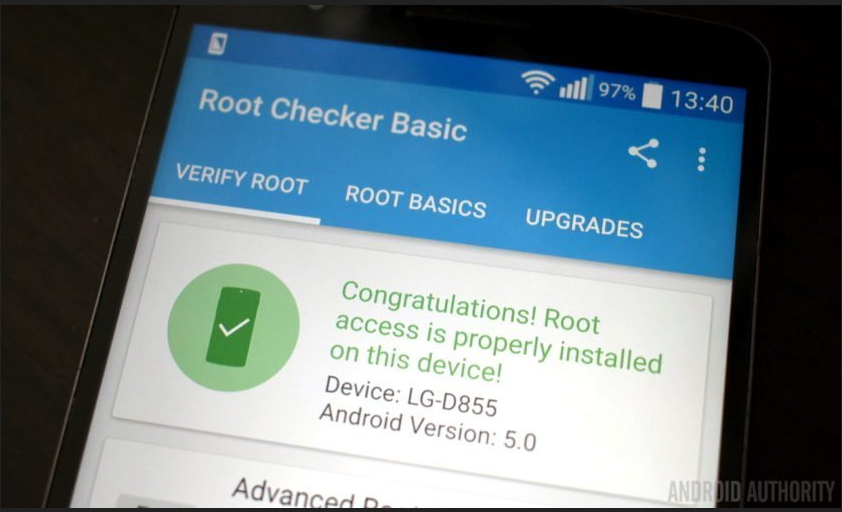
Rooting – The Basics
Rooting is the process of gaining administrative access to your Android device. Once rooted, you can install apps that require root access to function properly. It also gives you the power to make impossible changes to your phone with an unrooted device.
There are many reasons why people choose to root their phones, but here are some of the most common:
- Get rid of bloatware (crapware) apps that your carrier or manufacturer pre-installed on your device.
- To gain access to the full file system, you can make backups or flash custom ROMs that you’ve downloaded from XDA Developers or other sources.
- Overclock or undervolt your CPU/GPU to perform better than stock speeds at the expense of battery life and stability (you should only do this if you know what you’re doing).
Get the Right Software to Root Your Device
The first thing you’ll need to do is install a custom recovery on your device.
Custom recoveries let users flash ZIP files or make backups of their current operating system. Once custom recovery is installed on your device, you can start rooting it by flashing the SuperSU ZIP file.
The easiest way to root your Android device is through TWRP Recovery, which has an intuitive interface and lets you flash SuperSU directly from the app itself. You can use CWM Recovery for this purpose as well, but we recommend TWRP due to its ease of use and updated features that make it easier than ever before to root and unroot devices running Android 5.0 Lollipop or newer versions of Android’s operating system software.
Unlock the Bootloader on Android
Unlocking the bootloader is necessary if you want to root your device or flash a custom ROM. It’s also useful if you want to manually flash firmware updates or if you’re tinkering with Android devices and need to flash recovery images and other things.
Here’s how to unlock the bootloader for most devices:
Open Settings>Developer options and scroll until you see “Enable OEM to unlock.” Tap it and then tap Yes when prompted by Allow OEM unlocking. Now head back into Developer Options and turn off USB debugging (if enabled) so your computer doesn’t automatically download files when connected via USB cable. Connect your phone via USB cable and open a command prompt in Windows (use Shift + Right-click>Open Command Prompt). Type fastboot OEM unlock at the
Check USB Debugging is Enabled on Android
Before you root your Android device, you need to ensure USB debugging is enabled. You can check this by going to Settings > About phone> Software Information and looking for the Build Number. Tap it seven times until it says, “You are now a developer.” Then go back to Settings > Developer Options, and turn on both USB Debugging and Stay Awake. If you don’t see Developer Options in your settings, it’s likely because your manufacturer or carrier has disabled it — but there’s usually an app in the Play Store that’ll enable it for you (or at least give you access to hidden settings).
Run the One Click Root Software and Root Your Android!
You’re almost there! Once you’ve downloaded the One Click Root software, all you need to do is run it. Follow these steps:
- Plug your device into your computer with a USB cable.
- Open the One Click Root software folder and double-click on “root-windows-r2-v2.exe” to start the application.
- If you see a message asking if you want to allow access over USB, click “Allow” or “Grant Permission” (depending on your version of Windows).
- You should see an Android logo on your device as soon as it connects—everything is working properly! Now, follow the instructions in the program window and let it root your phone!