Whether you use Instagram for business, or for your personal brand building, or you’re just a random everyday user of the Instagram app, you’ll find that these random Instagram tricks we’ll be sharing in three parts in the coming weeks will come in really handy.
Also Read: How To Optimise Instagram For Your Business
Best Instagram Tricks & Tips:
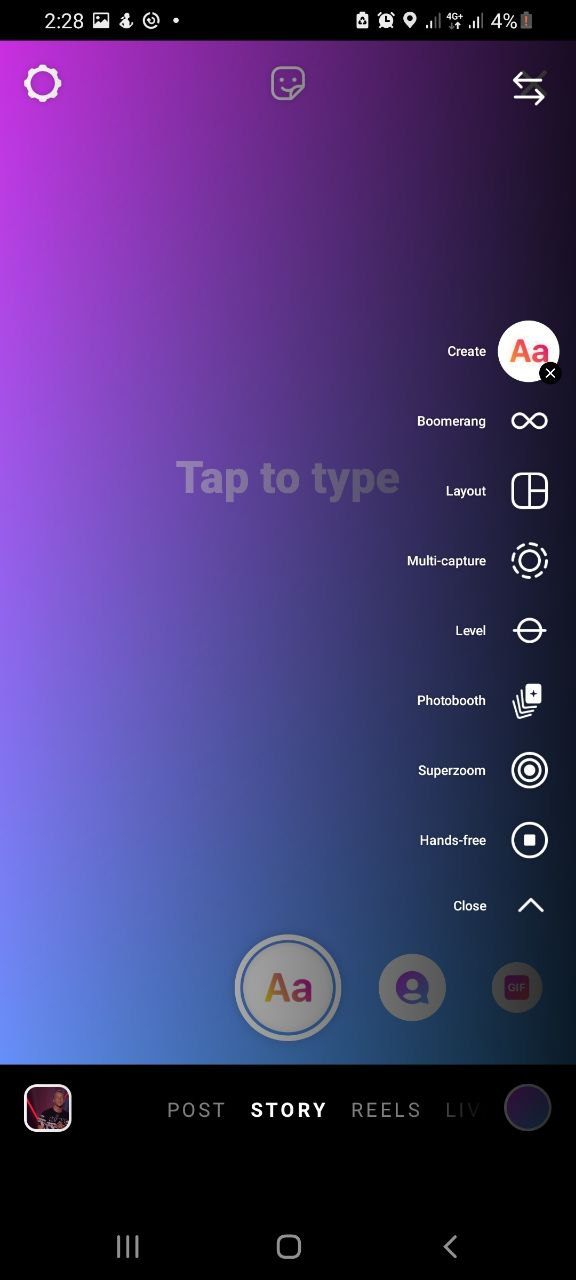
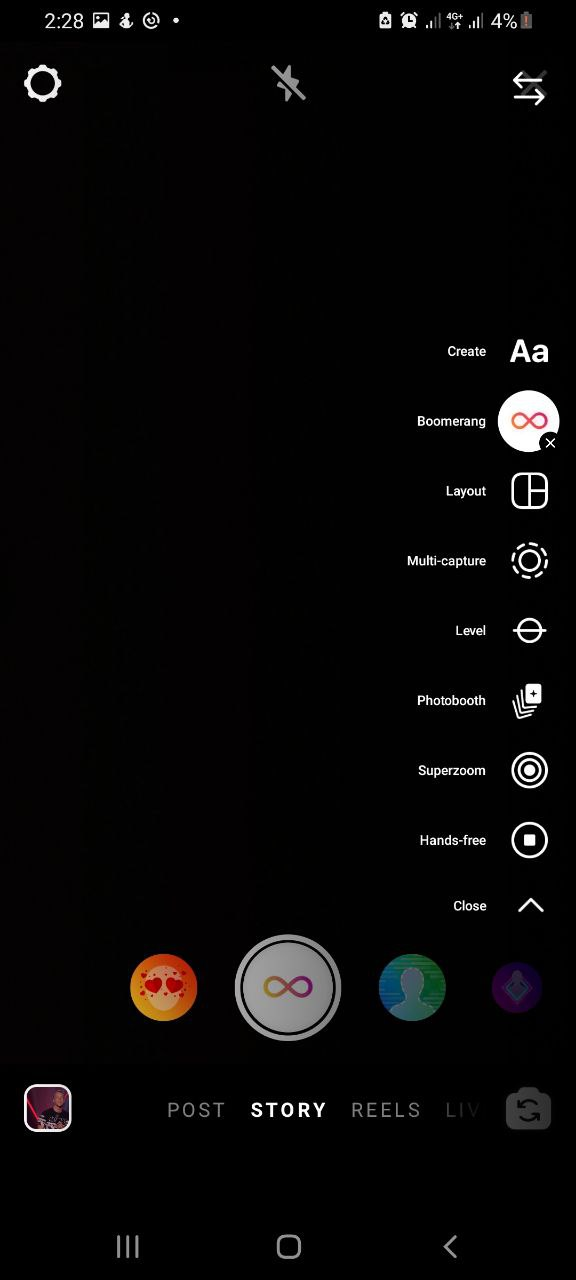
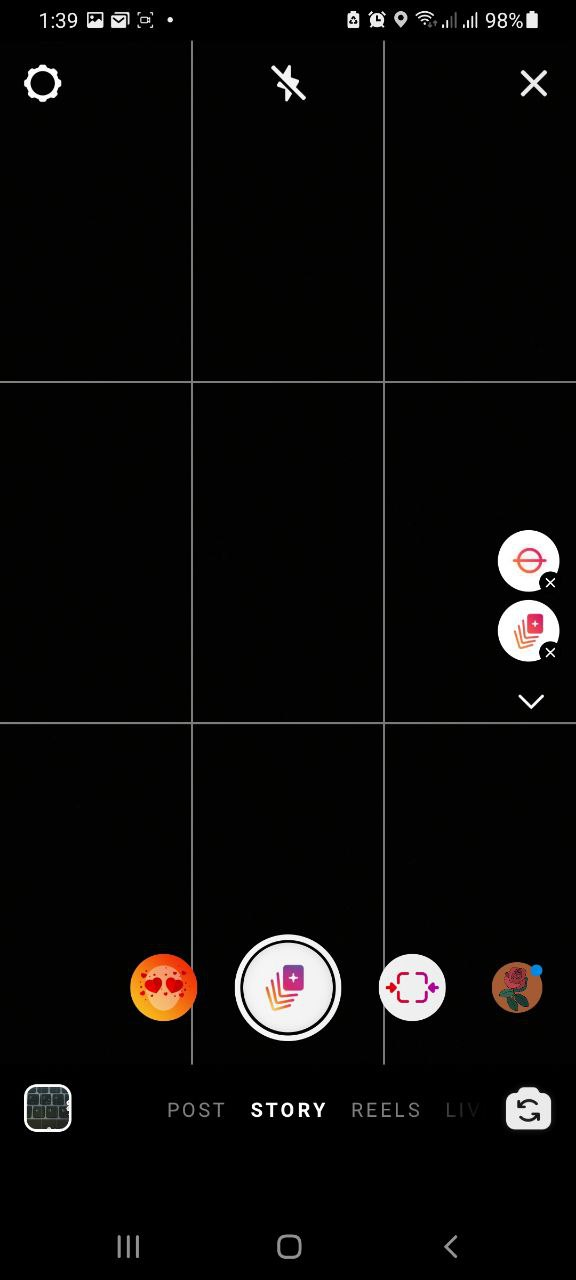
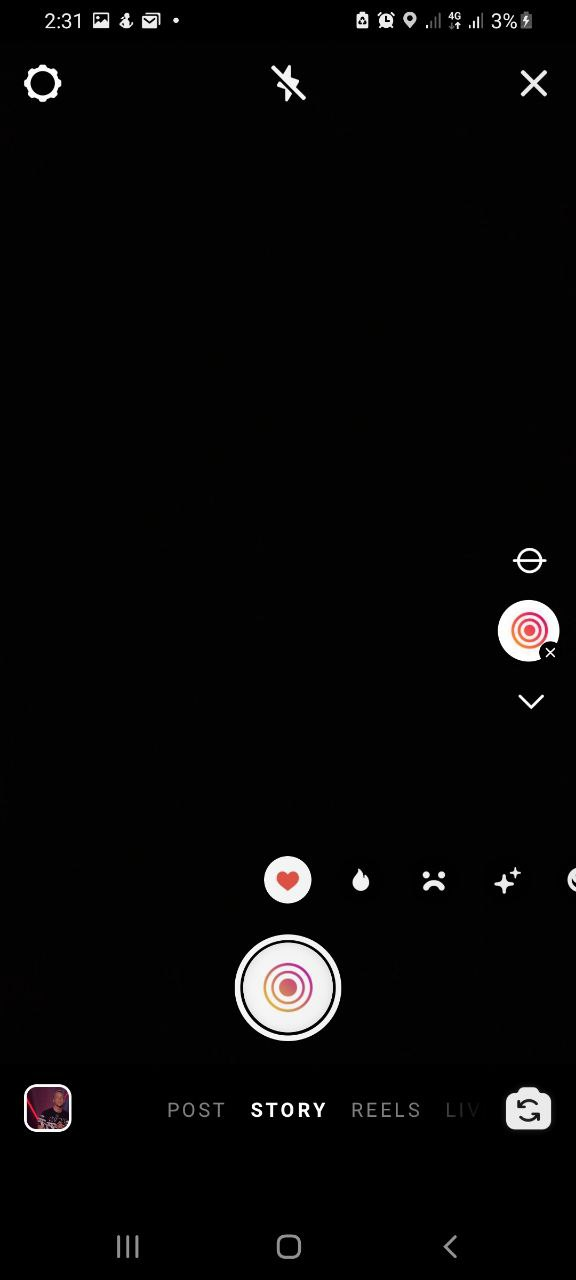
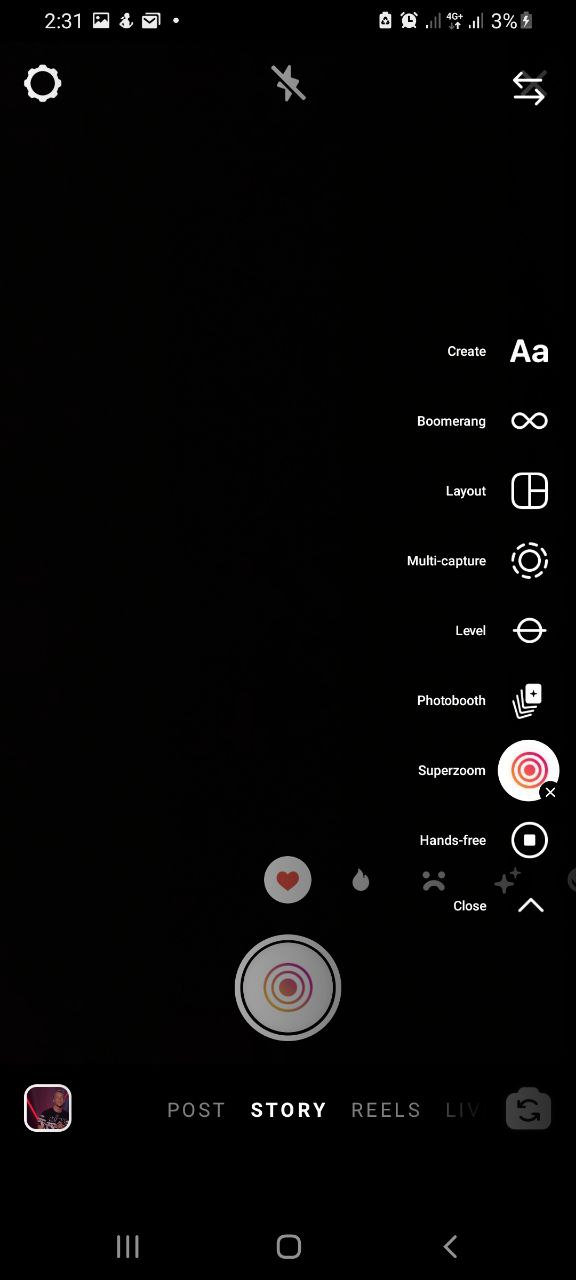
We’ll start with the “STORY” page features (create, boomerang, layout, multi-capture, level, photobooth, superzoom, hands-free):
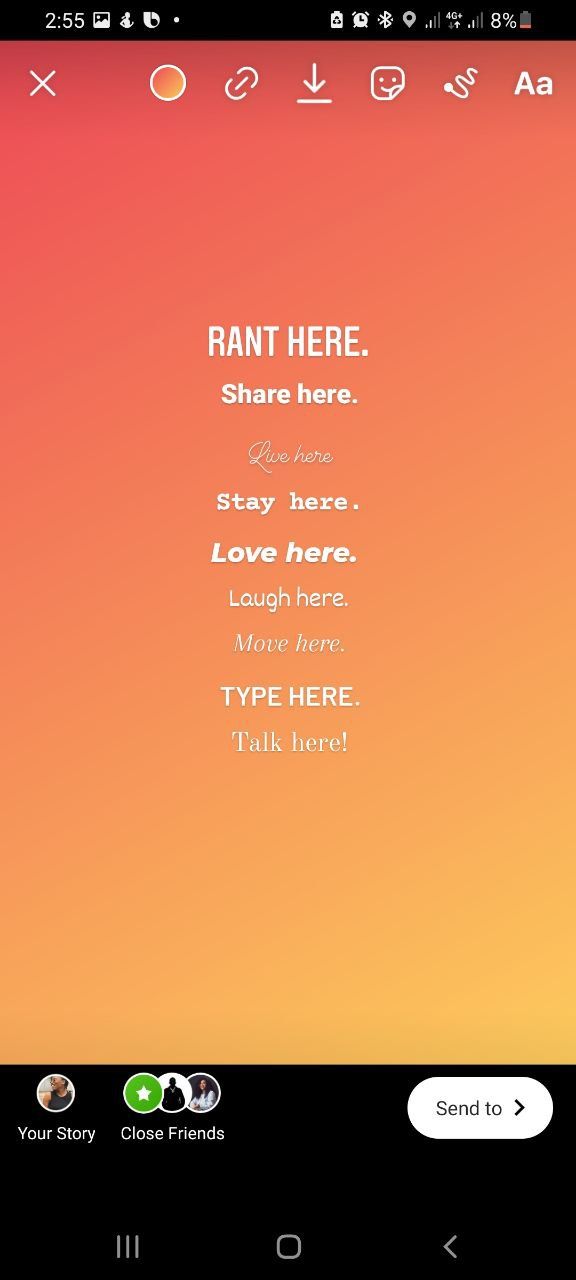
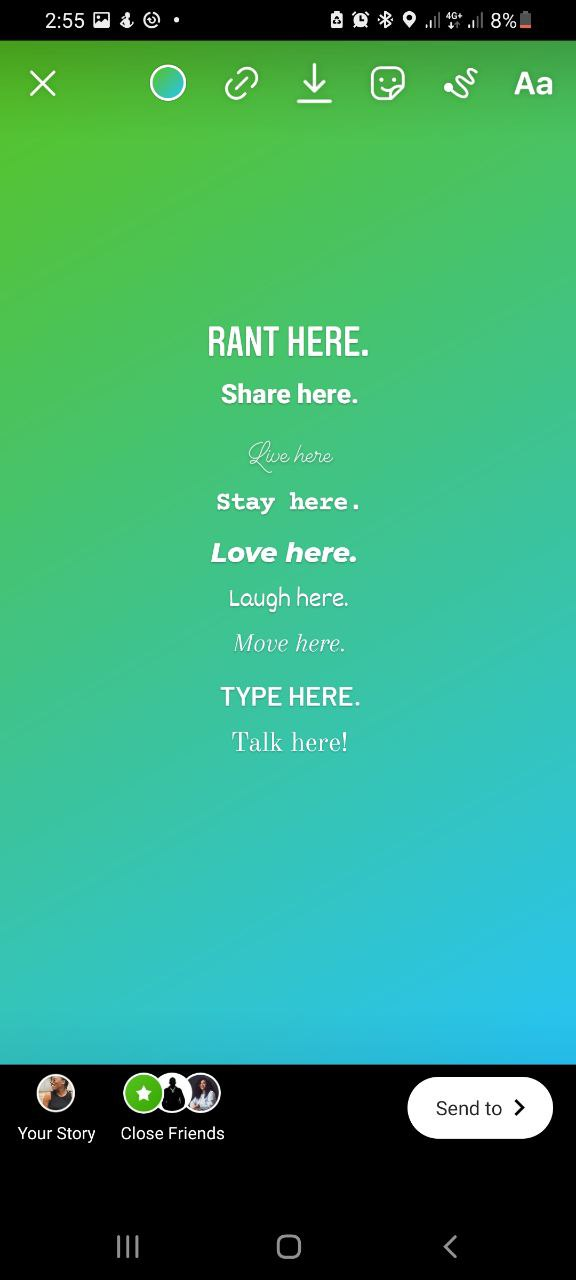
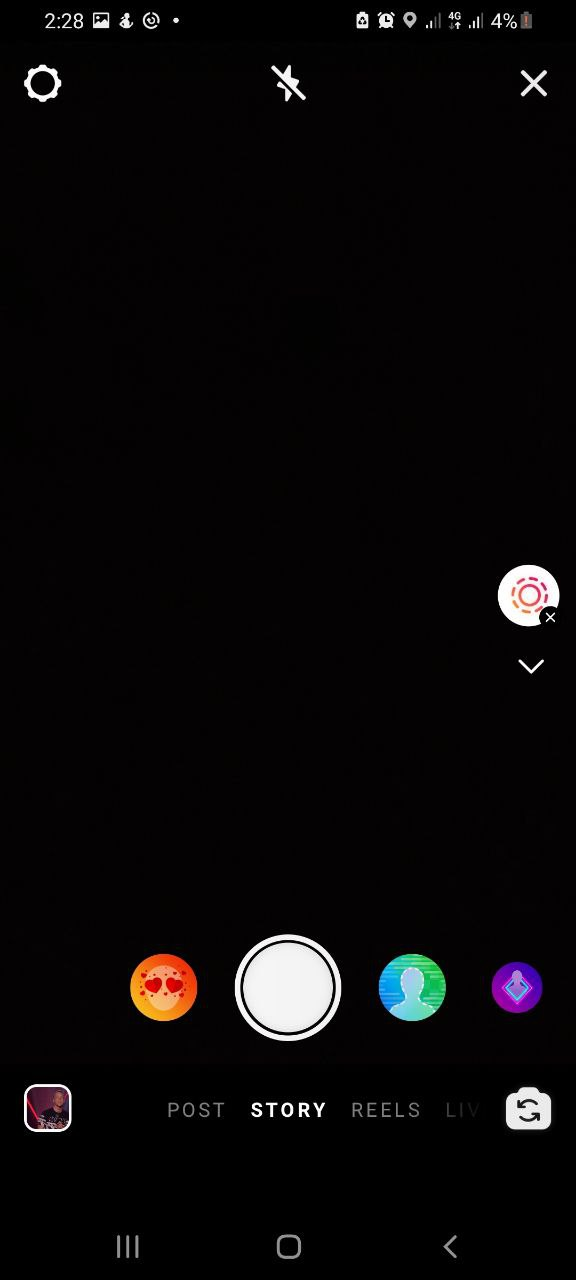
- Create: Let’s say you’ve just had a bad experience and you just want to share, or rant about it, “Create” is the perfect place for you. To create,
- Swipe right from your “Newsfeed”.
- You’ll see some options on the left or right side (depending on your app camera settings) of the screen; create, boomerang, layout, multi-capture, level, photobooth, superzoom, hands-free. If you only see icons, tap the arrow at the bottom of the list to expand the options, so as to see the icons with labels.
- Click on the “Create” option.
- Click on “Tap to type” on the screen, and start ranting away.
- Share your story by clicking “Send to” at the bottom right part of your screen.
You can share without character limitations, pick from the pre-existing fonts, change background color, add music, sticker, etc.

- Boomerang: Ever seen those bumpy, exciting, short videos, and wondered how they were made? This feature! It helps you create short videos that loop back and forth. Here’s how;
- Swipe right from your “Newsfeed”.
- You’ll see some options on the left or right side (depending on your app camera settings) of the screen;
- From the options, click on “Boomerang”.
- Tap, or tap and hold the record button to record your mini video.
- Let the maximum time run out, or release the recording button to stop.
- Post on your story by clicking “Send to” at the bottom right part of your screen, or download by tapping on the downward-facing arrow at the top of the screen.

- Layout: This feature allows you to take advantage of the pre-designed template, by putting your photograph on the preset shapes representing placeholders. Similar to the previous ones, to use this feature;
- Swipe right from your “Newsfeed”
- You’ll see some options on the left or right side (depending on your app camera settings) of the screen
- Click on “Layout”
- Pick a template
- At the bottom left side of your screen, you’ll find a square-shaped icon with a “+” sign on it, this allows you access to your gallery.
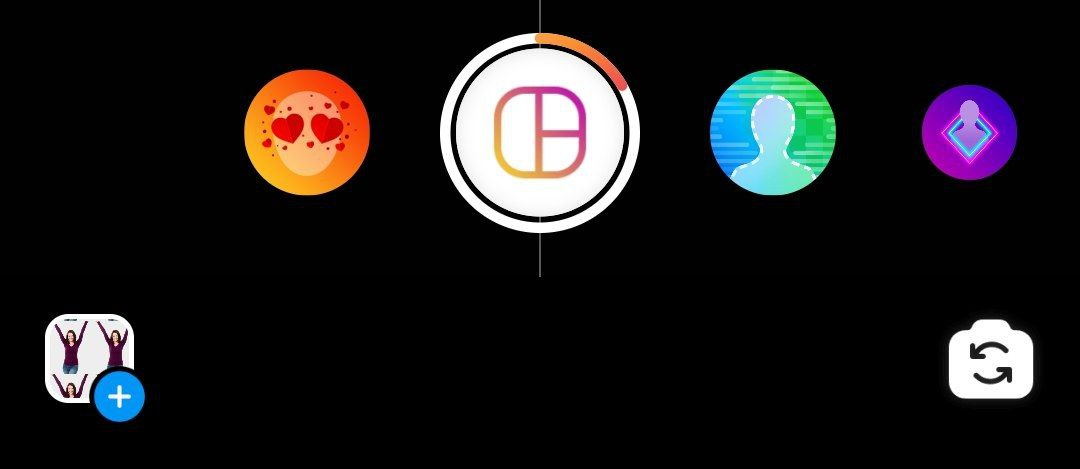
- Click on it.
- Pick the pictures you want on each box
- You’ll see a “✓” inside a round icon at the bottom center of your screen. Click on it. Now you’re ready!
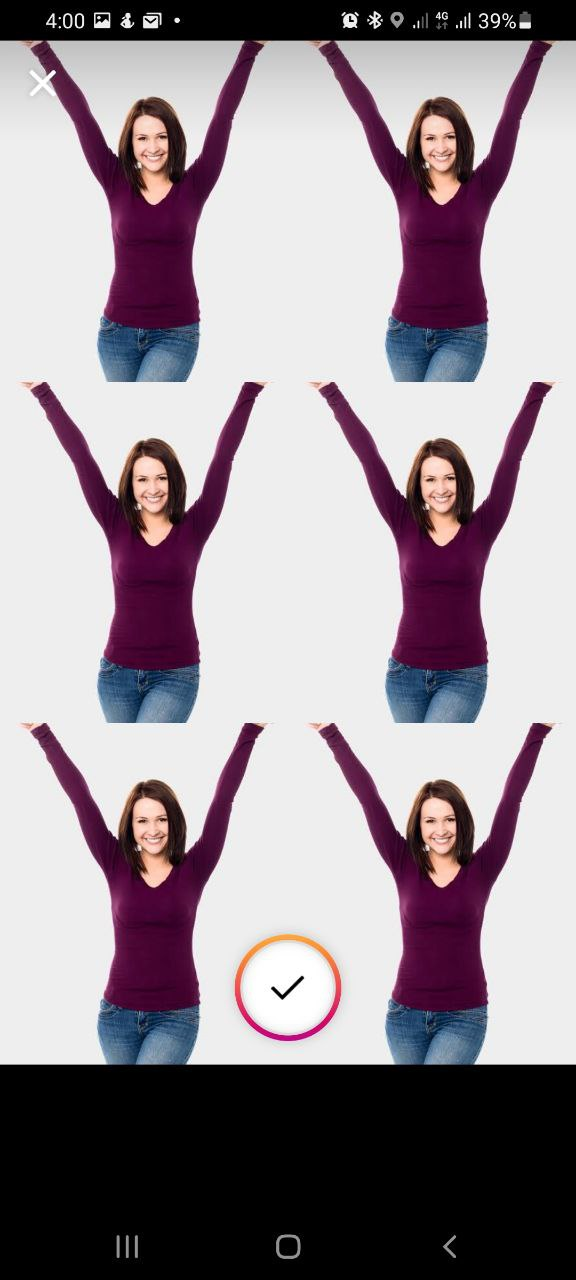
- Post on your story by clicking “Send to” at the bottom right part of your screen, or download by tapping on the downward-facing arrow at the top of the screen.
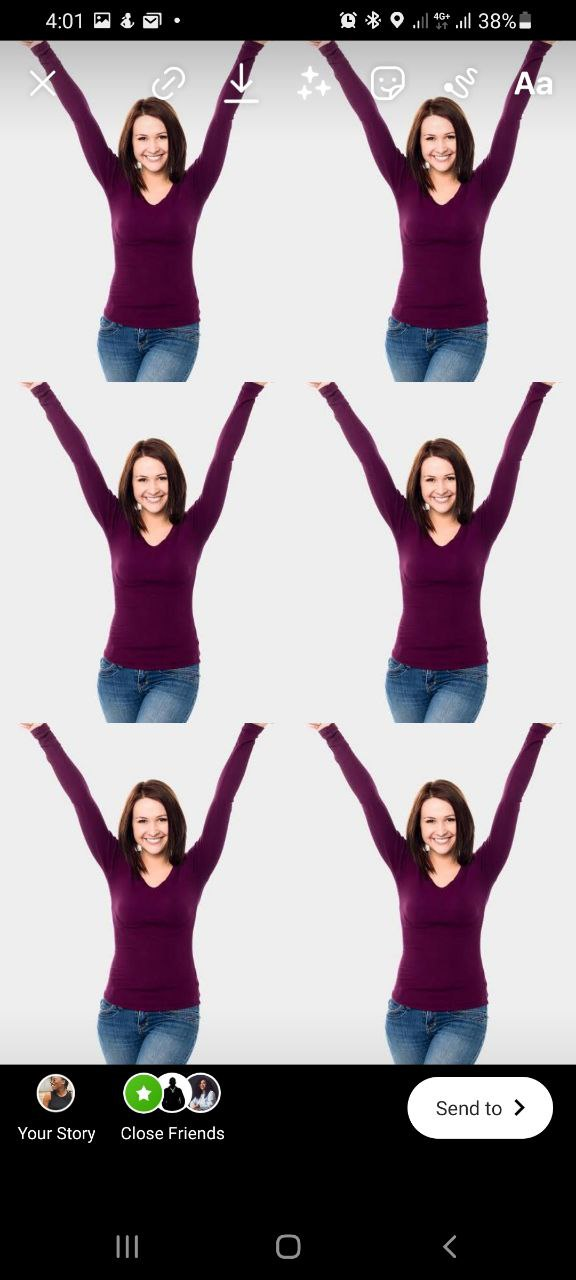
- Multi-capture: Rather than capture and share images one at a time, this feature allows you create and share multiple (up to 8) photographs at once. Here’s how;
- Swipe right from your “Newsfeed”
- You’ll see some options on the left or right side (depending on your app camera settings) of the screen
- Click on “Multi-capture”
- Click on the shutter button to take pictures -a maximum of 8.
- You can decide to edit the photos or not, but once you’re certain and ready to share,
- Click on “Send to” at the bottom right part of your screen to post on your story, or download by tapping on the downward-facing arrow at the top of the screen.
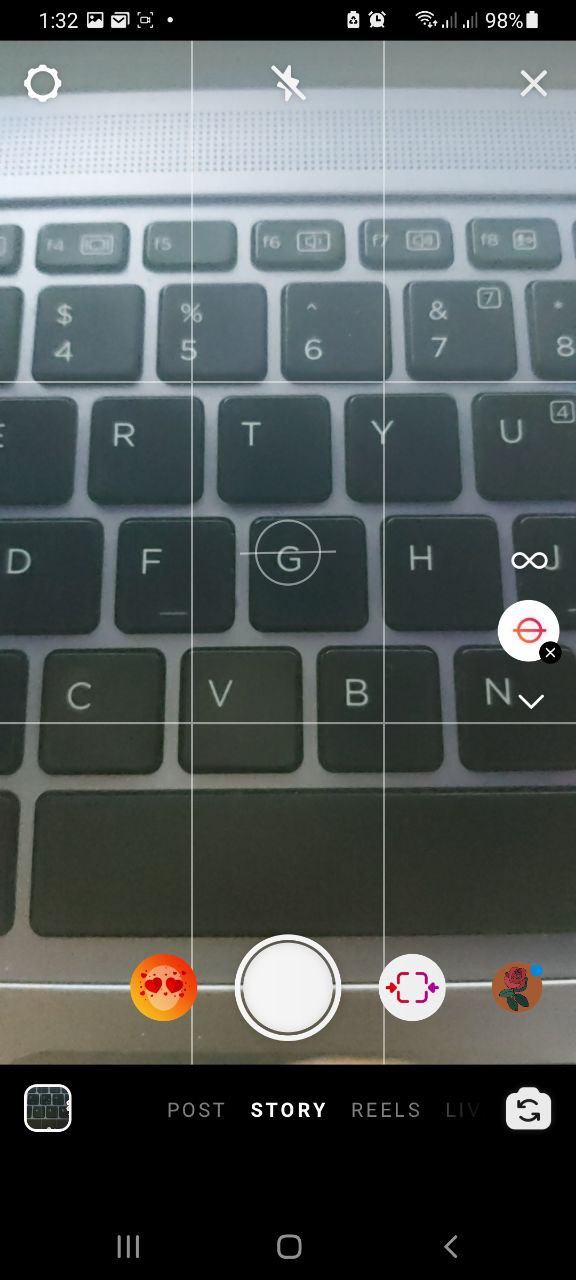
- Level: Ever taken pictures only to find out they’re skewed? The level tool takes away that by helping make sure that you’re holding your phone straight before taking a photo or recording a video. Use the tool with these easy steps;
- Swipe right from your “Newsfeed”
- You’ll see some options on the left or right side (depending on your app camera settings) of the screen, click on the “level” icon.
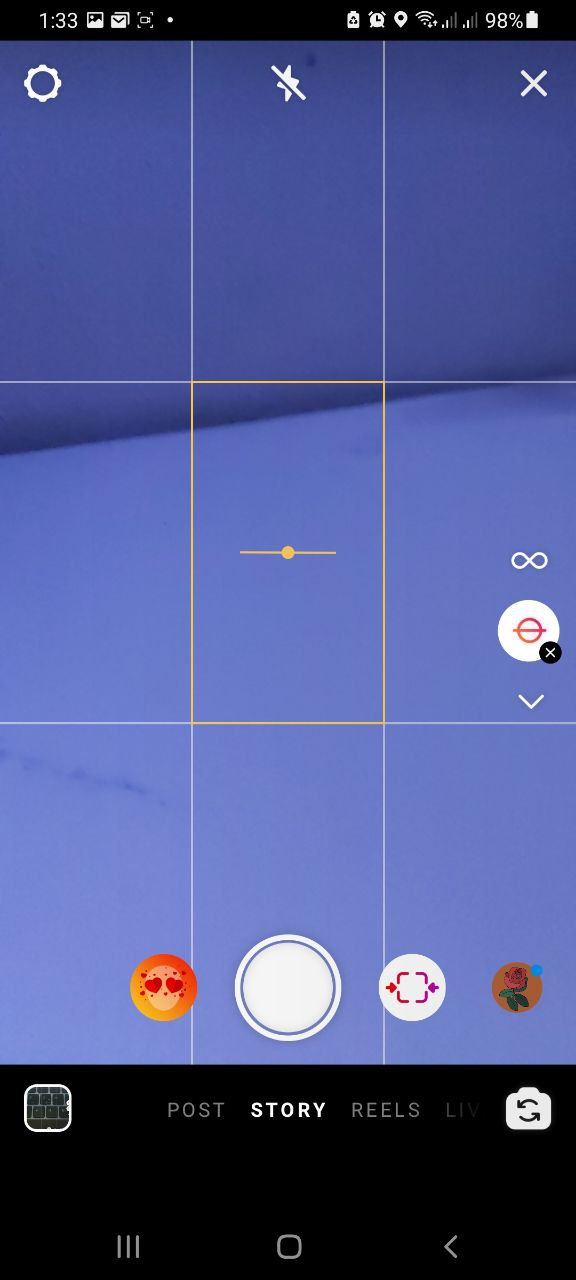
- A 9 square grid will appear on the screen. Point the camera to the object you want to take/make a video of.
- A yellow flag should appear in the centre square on the screen, once it does, this means that you’re holding your device straight. Now you can take your photo or record your video.
- You can also use this tool with other features discussed earlier, for proper alignment.
- Post on your story by clicking “Send to” at the bottom right part of your screen, or download by tapping on the downward facing arrow at the top of the screen.
- Photobooth: The Instagram Photobooth feature allows users to create short slideshow videos of several selfie photos. Uniquely, users can also add effects provided by Instagram to the photo slideshow video. To use this feature.
- Swipe right from your “Newsfeed”
- On the side of the screen where you have the other features, tap “PhotoBooth”.
- Tap the shutter button to start. The feature will count down from three seconds and then just like a physical photo booth, capture four pictures some seconds apart. You’ll see the disappearing square indicating the delay between each shot as you prepare for the next one.
- Post on your story by clicking “Send to” at the bottom right part of your screen, or download by tapping on the downward facing arrow at the top of the screen.

- Superzoom: With a single tap, this feature allows you to create Dramatic and gigantic zoom in and out of an object. You can also add effects provided by Instagram. There are multiple Superzoom effects to choose from. Here’s how to find, and use this feature;
- Swipe right from your “Newsfeed”
- On the camera screen where you have the other features, tap “Superzoom” by the side of the screen.
- Tap and hold, while sliding your finger up and down to get the gigantic zoom effect.
- Post on your story by clicking “Send to” at the bottom right part of your screen, or download by tapping on the downward-facing arrow at the top of the screen.
- Hands-free Video Recording: If you’d like to record videos without having to hold on to your phone or the “record” button the whole time, then this feature is just what you need. The Hands-free mode also helps with recording lengthy video, and you can easily switch between the front and back camera. Here’s how to find and use it;
- Swipe right from your “Newsfeed”.
- You’ll see some options on the left or right side (depending on your app camera settings) of the screen.
- Click on the “Hands-free” recording option.
- Tap the record button at the bottom of the screen to start recording.
- Let the maximum time run out, or tap the recording button again to stop.
- Post on your story by clicking “Send to” at the bottom right part of your screen, or download by tapping on the downward-facing arrow at the top of the screen.

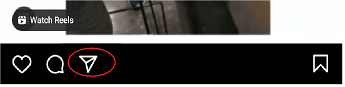
- Share From Your Favourite Pages Directly to Your Story or Friends: every day now comes with new online challenges, different content, and with instagram algorithm, you’re likely to see things very similar to content that you like or have liked and would want to share with your friends or to your story without having to first use third-party platforms to download the post and then reupload. Instagram makes it possible to share posts from other pages to your story with just a few clicks;
- Click on the “Share” button (the arrow-like button)
- Click on “Add video/reel/post to your story”
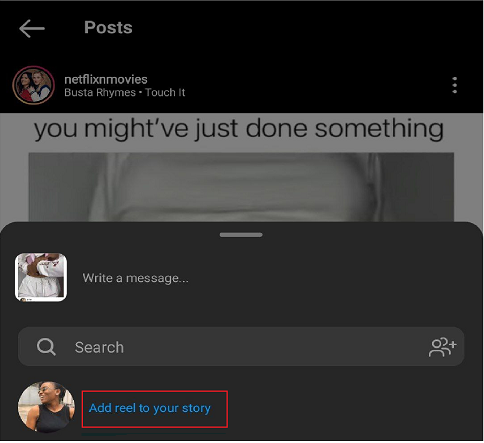
- Tap on “Send to”
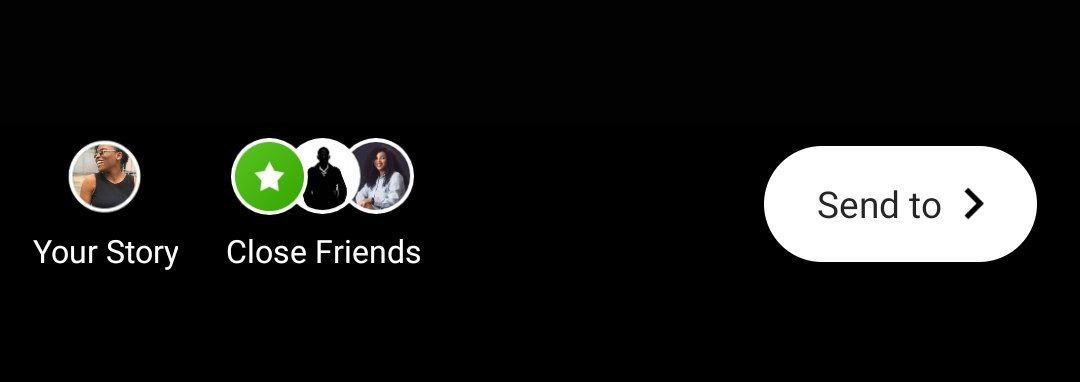
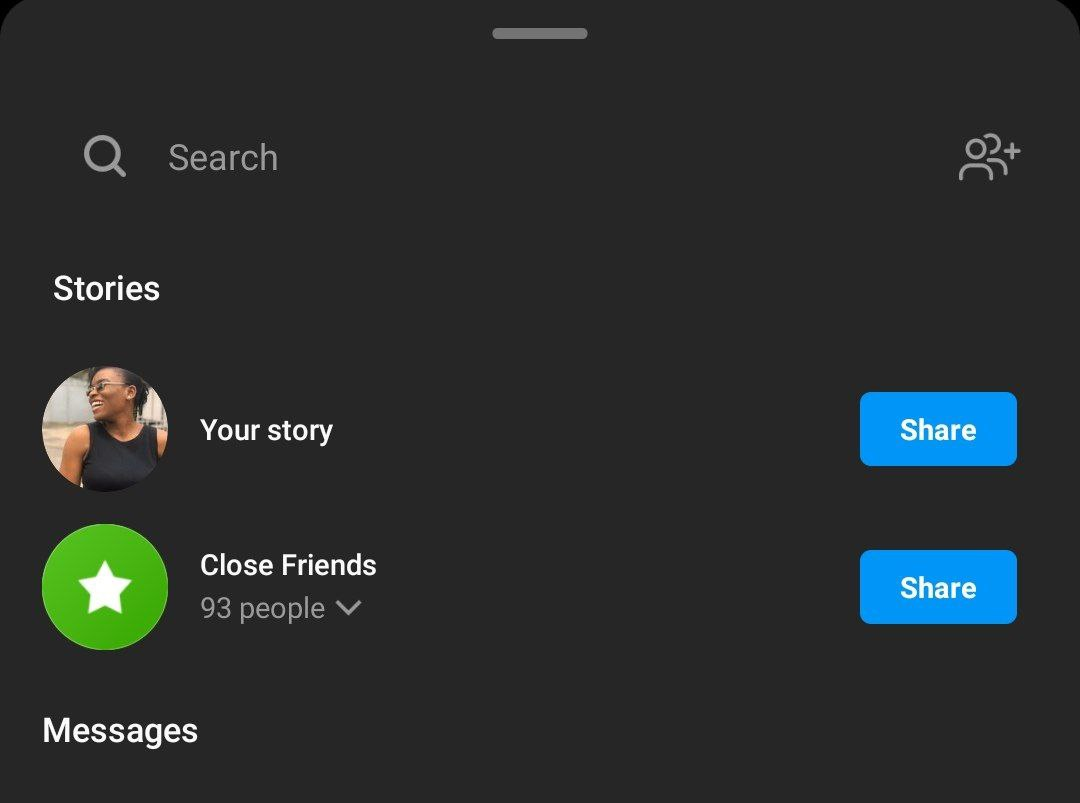
- Then choose where you’d like to share it. Whether your story, Close friends, or direct messages to friends.
Note: This will only work on accounts that are not private, as you cannot send posts from a page that is private to your story unless it is your own page post that you are sending to your story. Also, another exception for sending to friends is if the friends are following the page, otherwise, what they will get is “Post is unavailable.”
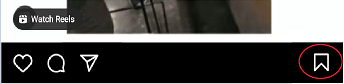
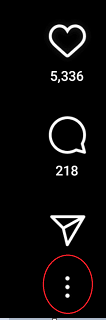
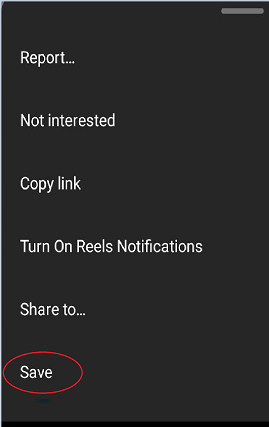
- Save Posts From Your Favourite Pages For Later: We all have those posts we randomly run into that we’d like to go back to. Thanks to Instagram, you can save posts and go back to them when you want with just 1 tap. To save,
- Click on the “Bookmark” button right under posts in your feed or for Reels and IGTV, you might need to click on the 3 dots by the side of the screen, and click on save, and the posts will be saved to a private new tab on your profile, and will only be visible to you.